is designed to imitate nature effects, but its field of application is wider. It may exceed the bounds of everyday life, carrying you to the wonder world filled with magic. With NatureArt you can become a fantasy character, it lets you create your own unique avatar.
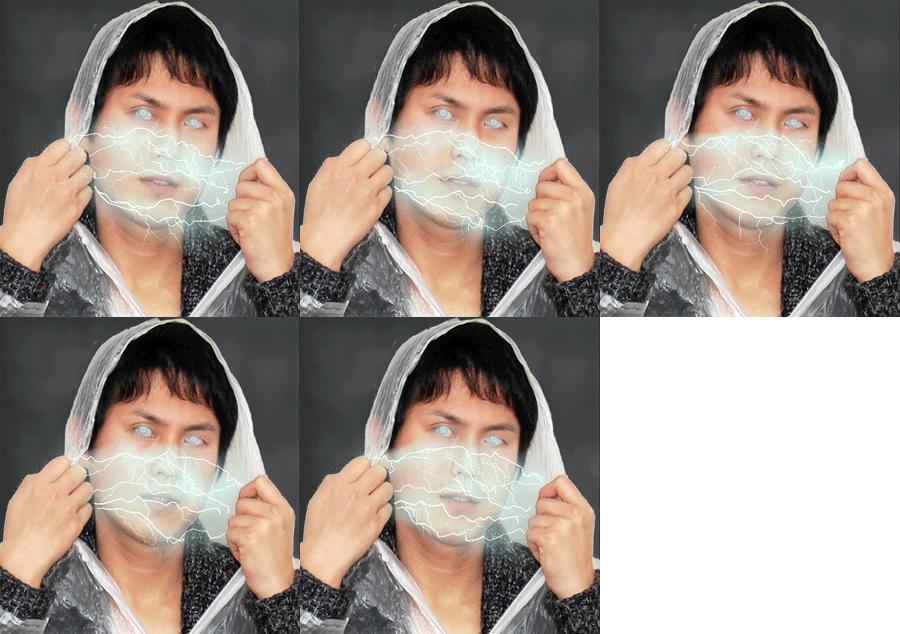
We will make an "evil" animated avatar using the NatureArt's effects and theAnimation feature of Photoshop.
| Original Image | Result |
- Step 1. Open a photo.
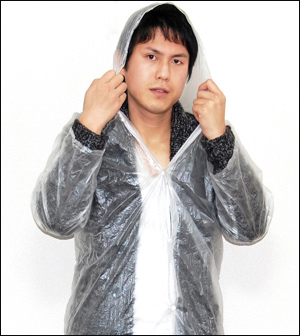
Original Image - Step 2. Place the portrait to the dark background to increase the dramatic effect.
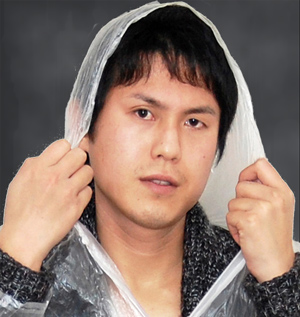
Dark Background - Step 3. Call the plugin: Filter -> AKVIS -> NatureArt.With AKVIS NatureArt we can endow the character with unusual eyes.Select the Sun effect. Add small dark sun to each pupil (use AKVIS Eclipsepreset). Reduce the Power parameter to 0.40.
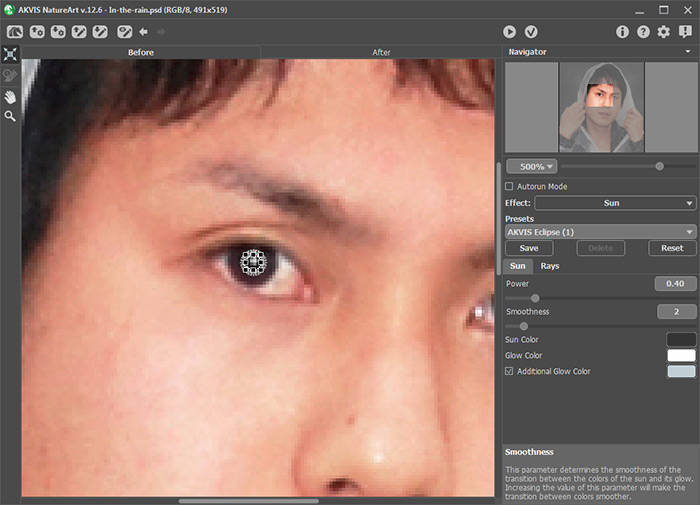
Sun EffectThe guy now looks like an evil wizard.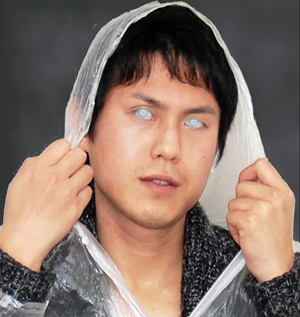
Mysterious Eyes - Step 4. Add more magic. Make several copies of the layer, for example, five, and use on each theLightning effect in AKVIS NatureArtplugin.
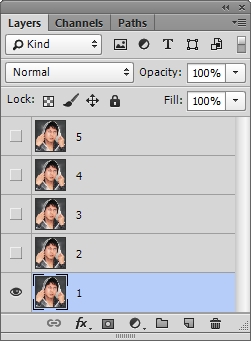
LayersOn the first layer, using the Directiontool in the plugin draw a "skeleton" of the lightning. Save the lines to the.nature file using the button
  . You will load the file for each layer. It's also helpful to save the parameters of the effect as a preset.
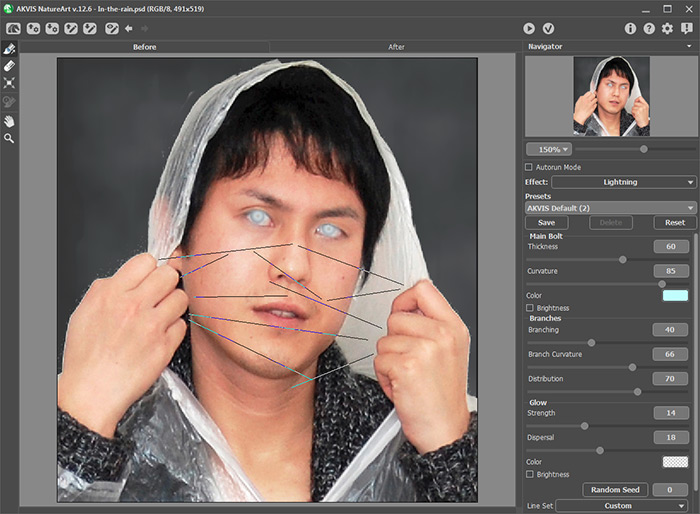
Lines for Lightning BoltsStart image processing by clicking on , and apply the result to the image editor with the button
  .
.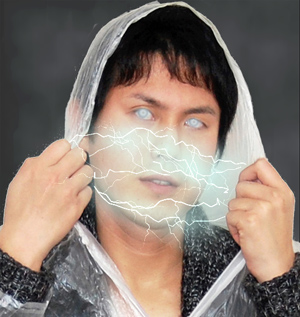
Layer 1 - Step 5. Switch to the second layer. Launch the AKVIS NatureArt plugin. Load the direction lines from the.nature file clicking on
 .Using the same effect settings, press the Random Seed button. This will change the form of the lightning. Run image processing with
 . You can make some corrections with theHistory Brush
  . Apply the result
  .
. - Step 6. Repeat this for all layer's copies (3, 4, 5). We will get some images, each slightly differs from the others. We can now go to the animation.To activate the Animation panel in Photoshop, select in menu: Window -> Animation (in CS6 use Window -> Timeline).Switch to the Frame view. Under the frame you can see a delay time in seconds and the amount of times it will repeat (a looping option). Set 0.1 sec and Forever, then duplicate the frame by clicking on the Duplicates Selected Frames button on the panel - five times (the number of layers with the effect).

Animation PanelAssociate each frame with its own layer. To do this, click on the first frame and (in the Layers palette) turn off the visibility of all layers except the first one. Click on the second frame and leave only the second layer visible, etc.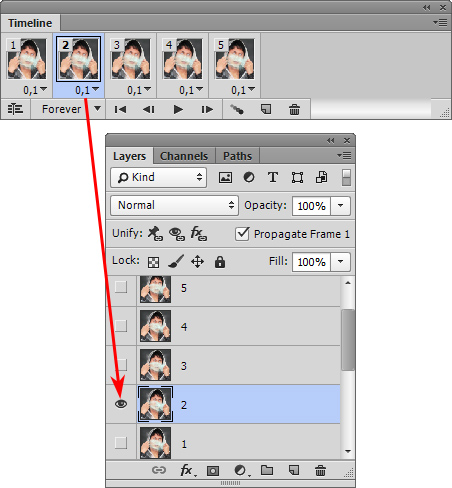
Creating Frames - Step 7. Save the image in GIF format with the command: File -> Save for Web & Devices… The animated avatar is ready.
No comments:
Post a Comment